| MGF Cars: Jaguar XJ8 timing chain repair |
Whilst our primary focus is the MGF, this Jaguar XJ8 happened to come our way...
We purchased it after the owner stated that the engine made a loud noise upon startup.
Removing the valve covers revealed that the left side (B bank in Jaguar speak) secondary timing chain had snapped.
We don't plan to cover every detail of the job here because as well as the official factory manual (JTIS), this site has an excellent description of how to do the job step by step. Rather, we shall illustrate some of the issues that arise when the original style parts completely fail. |
|
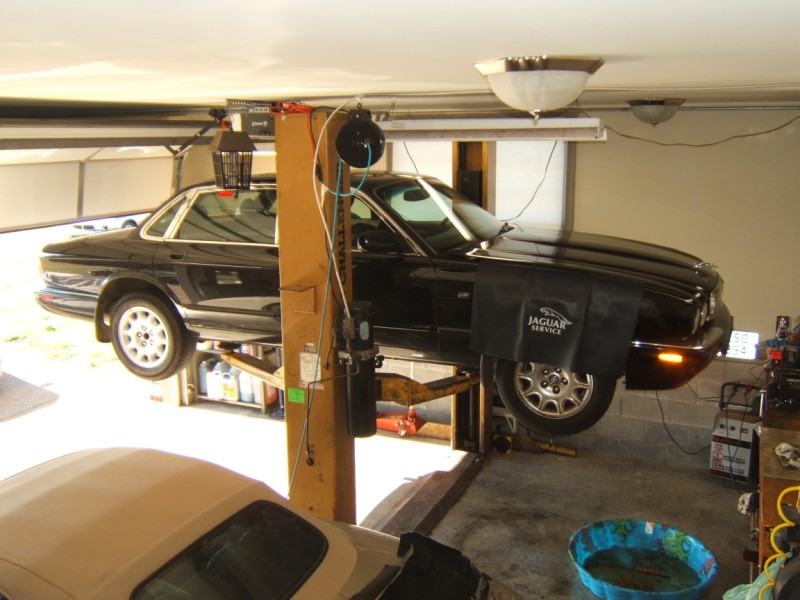 |
First, I want to thank Bailey's Wrecker Service for their skill in getting the car into the shop on a rainy night. Except for draining the coolant & inserting the crankshaft timing lock a lift is not really required. |
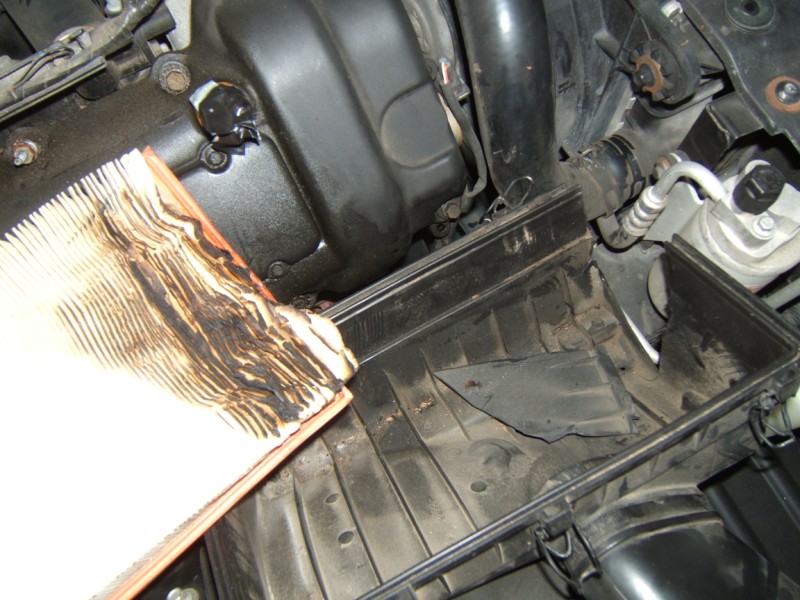 |
Aside from the chain breaking, there appears to have been an explosion & small fire within the air cleaner! The full load breather tube is completely gone: probably blown off! |
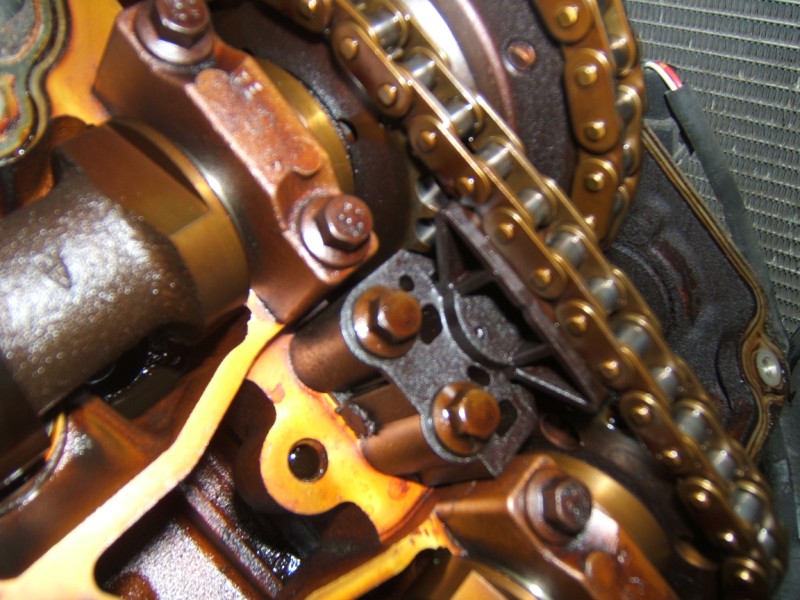 |
Here is public enemy #1 of the otherwise excellent Jaguar AJ-V8 engine: the dreaded early style upper chain tensioner. If you have these ground the car until they can be replaced! |
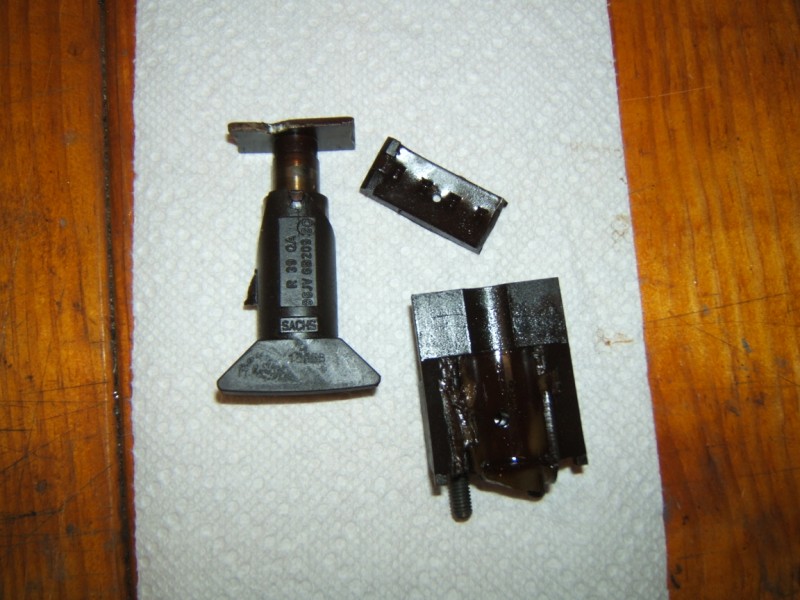 |
This is what happens when the old style tensioner is left for too long. At speed, valves are bound to clash with pistons. |
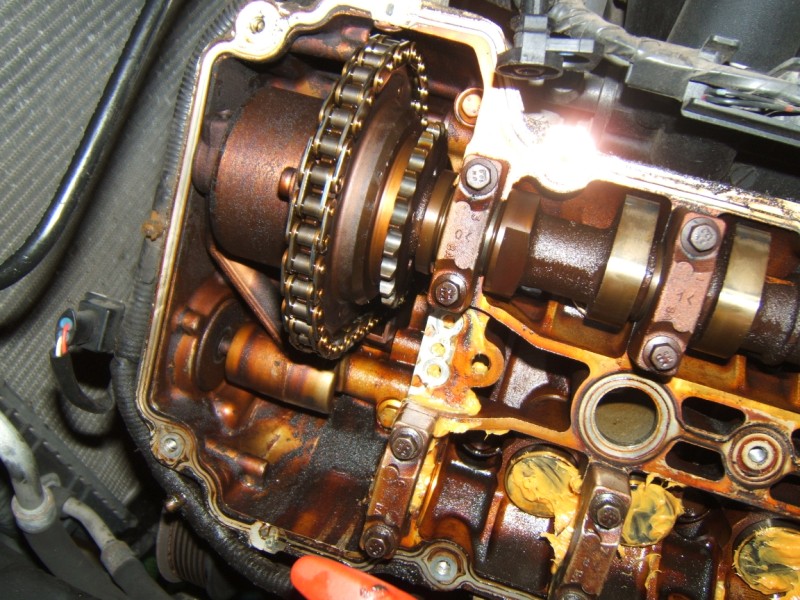 |
Since the chain had broken, before turning the engine any further, we removed the exhaust camshaft so that all the 'B' bank exhaust valves would remain closed. |
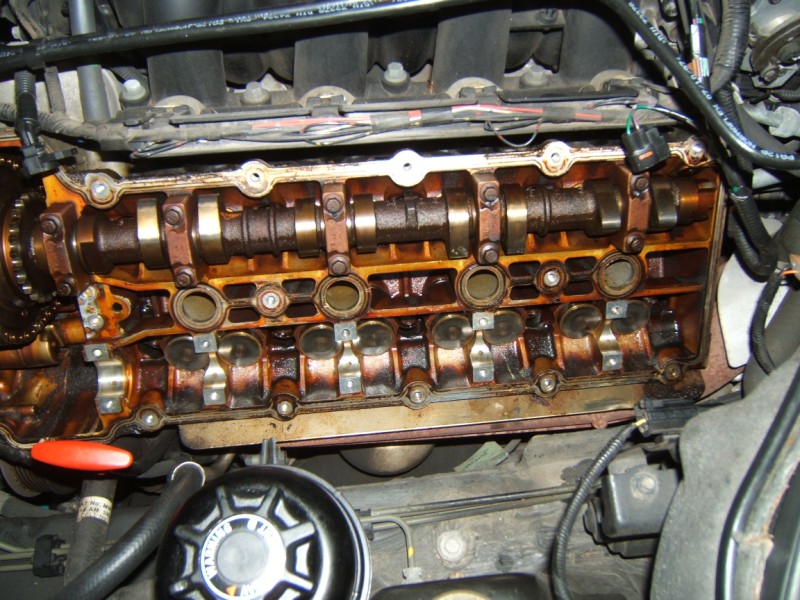 |
It appears that we got lucky this time - all the valve buckets (tappets) are even height - that is a good sign. After timing the engine & installing the camshaft lock plates the exhaust cam was reinstalled. |
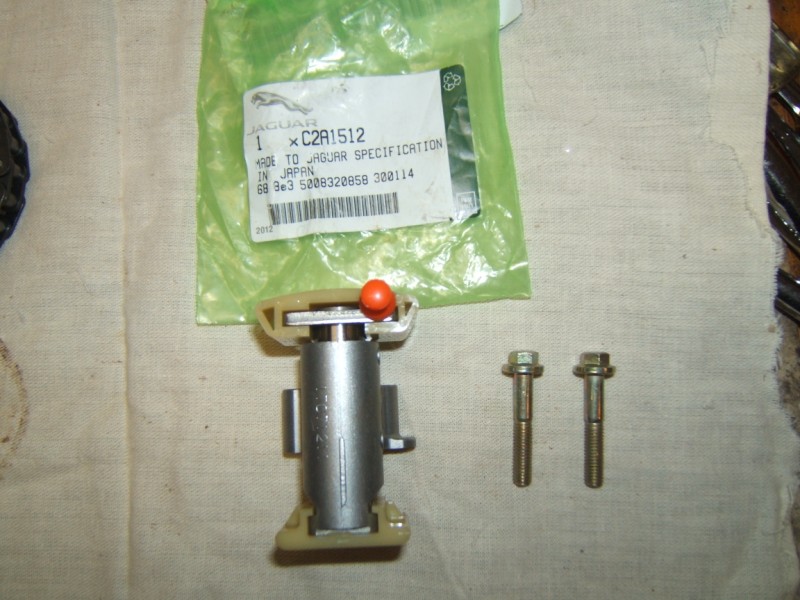 |
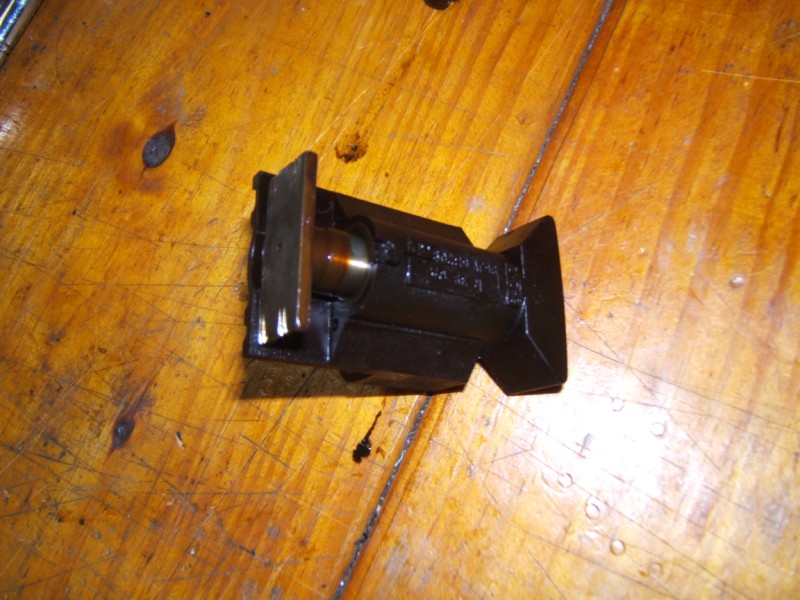
This is the latest style of secondary tensioner with revised bolts. The site referenced above is still using the old style tensioners. However, that may have been all that was available at the time the job was done. |
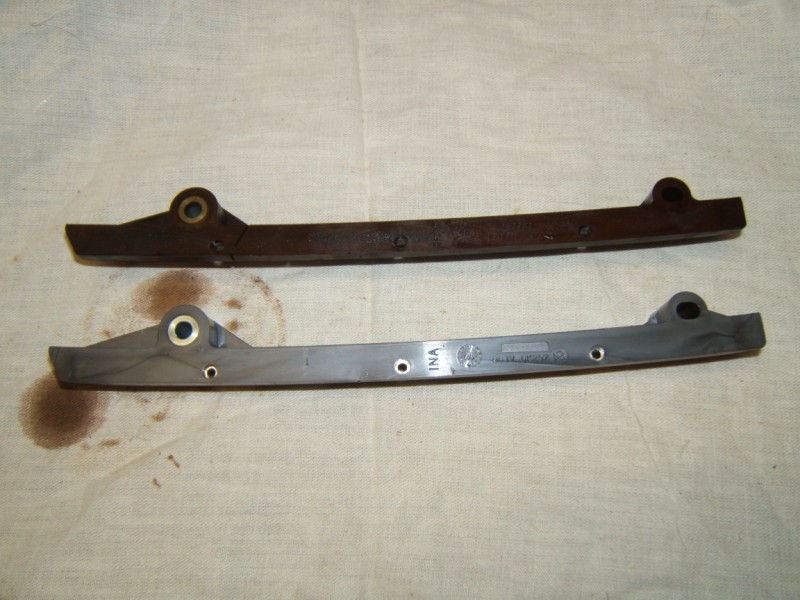 |
The original guides were made by Sachs, the new ones are from INA. Cracks in these are probably nowhere near as serious as in the tensioners but we replaced all four anyway, even though the curved ones were crack free. |
 |
Even though the right side (A bank) secondary tensioner seemed intact above, removal revealed metal to metal contact on the underside. For that reason, the A bank secondary chain was also replaced. |
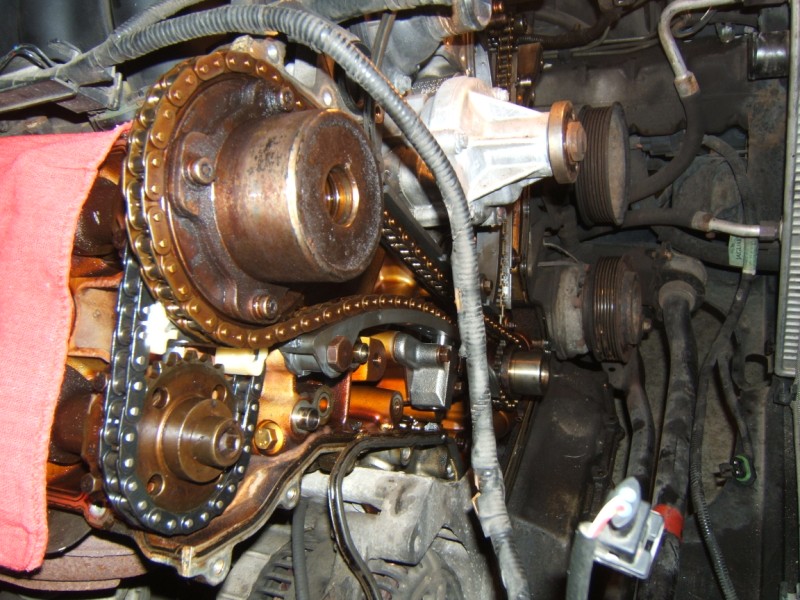 |
This view of the right side after installation shows the new style primary tensioner. Also, of superior construction quality it incorporates a ratcheting mechanism eliminating the need for the chain wedges. |
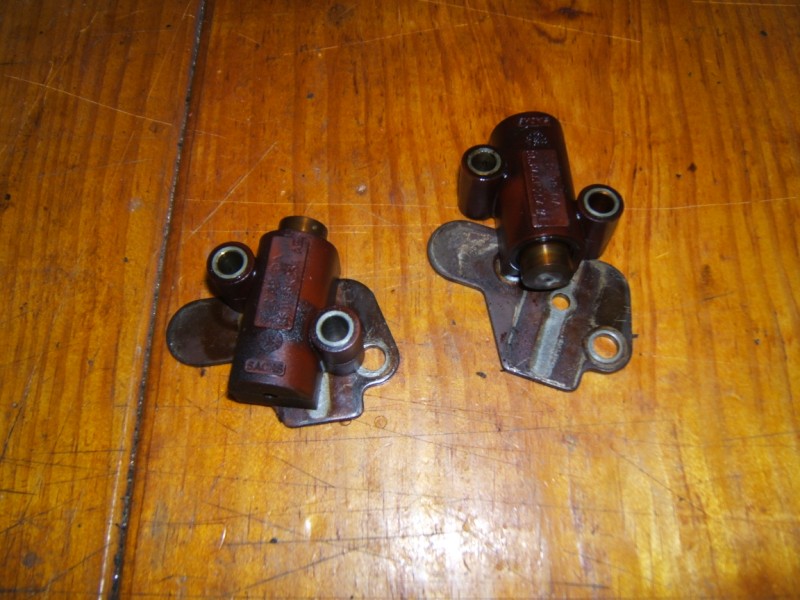 |
Contrary to what the previous image might imply, the backing plates are not used with the new style primary tensioners. Many thanks to Josh for setting me straight on this before putting the timing cover back on! |
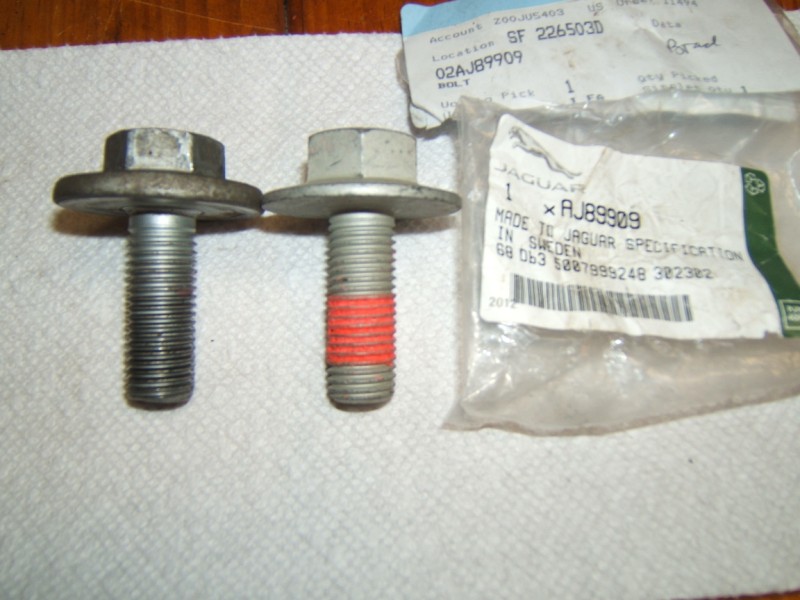 |
Every online article I have read says to replace the crankshaft pulley bolt. Every technician I ask says it is not necessary. Perhaps the answer depends upon which style of bolt is installed? Note the difference between the old on the left and new on the right. |
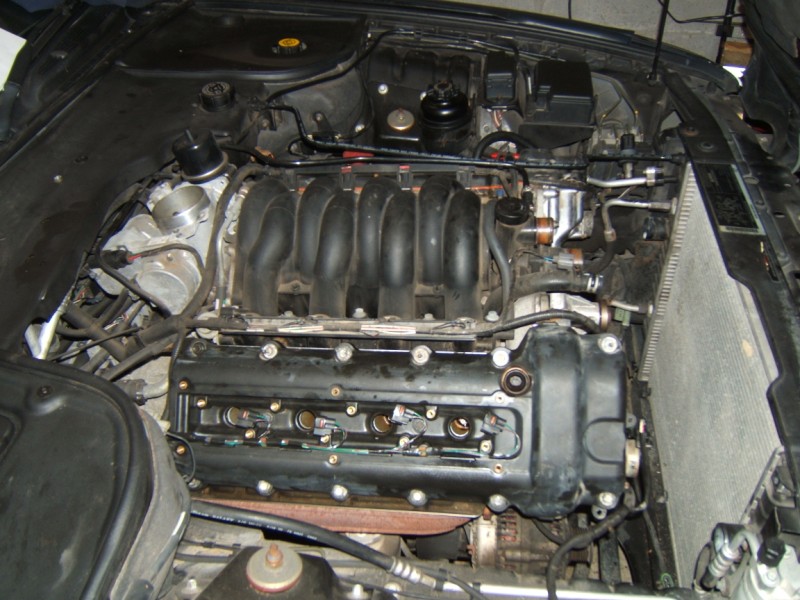 |
Note the brown marks on the thermostat tower. These are old parts that are sure to be a source of coolant leaks, thus will be replaced once the car is running. The water pump is inexpensive so the latest part# AJ88912 should be installed and we shall flush out the nasty old yellow coolant and replace it with pink. |
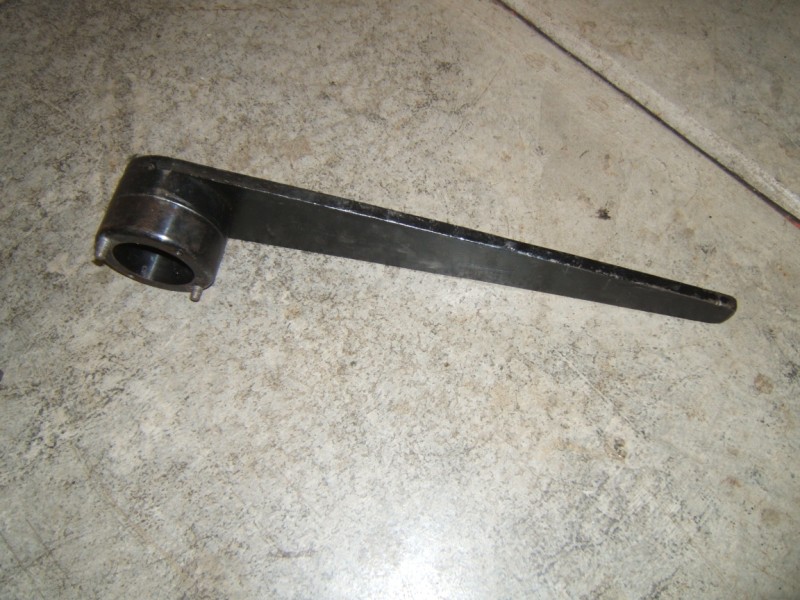 |
This tool is invaluable for holding the crankshaft pulley whilst the pulley bolt is removed & installed. Together with the camshaft locking plates, flywheel peg and sprocket spanner they are indispenable items for doing this job. |
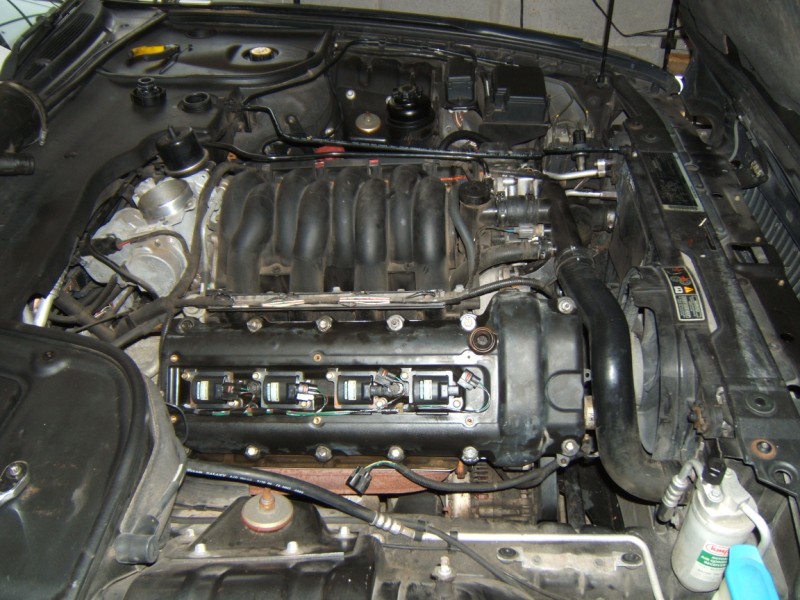 |
All that remains is to connect up the coils and fit the air intake assembly. With that done, the car started up and runs smoothly! Thanks to Josh, Scott and Earl at Jaguar Nashville for all their advice, guidance and encouragement. |
|
|
.
|