Triumph TR7 Rover V8 Engine Conversion |
| Step One: Move the battery to the boot (trunk) | ||
| . | battery mounting kit (includes: positive & negative cables, battery tray and battery hold down) |
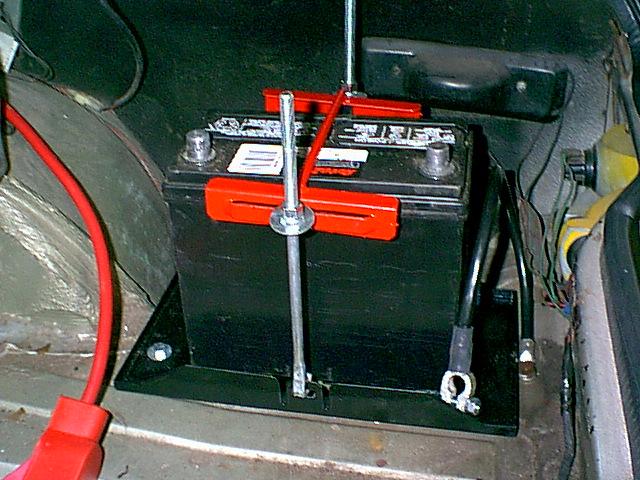 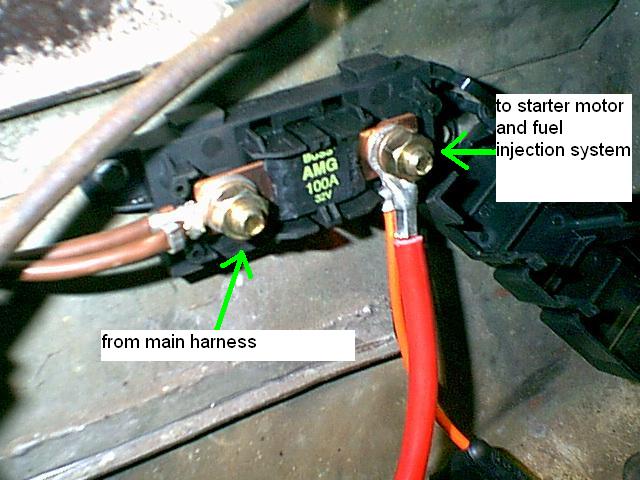 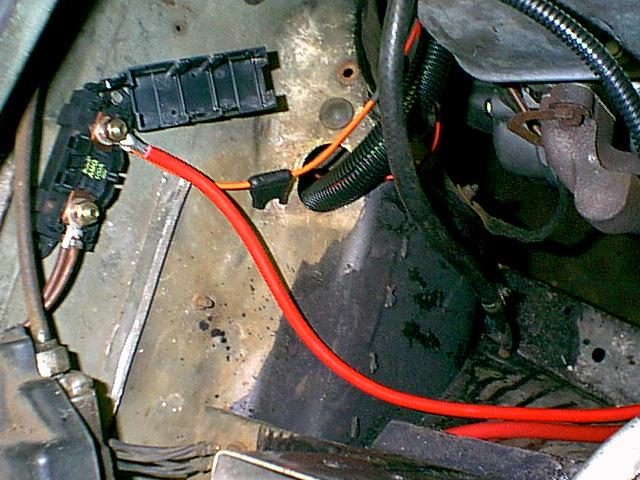 Factory TR8's had the battery located in the boot to improve weight distribution The positive cable runs from the battery to the starter solenoid. On factory TR8's the main harness splices into the battery cable just inside the bulkhead via a proprietary four way spade connector which is no longer available. However, on a TR7 the main harness makes that same connection inside the engine compartment. Thus, we decided to run a short battery cable from the starter to a separate junction box as shown in the second photo from the left above. The 100A fuse is over kill - we used it because it came with the junction box. |
| Step Two: Modify (replace) engine wiring harness | ||
| . | .. | 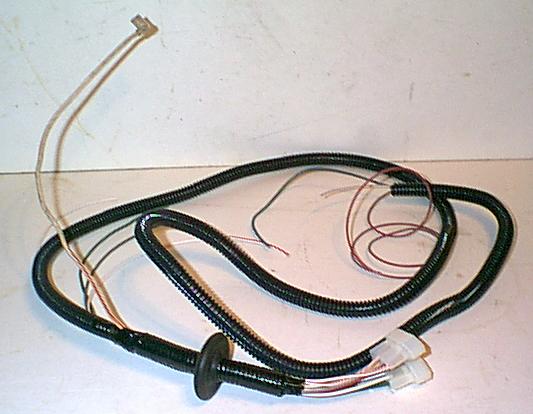 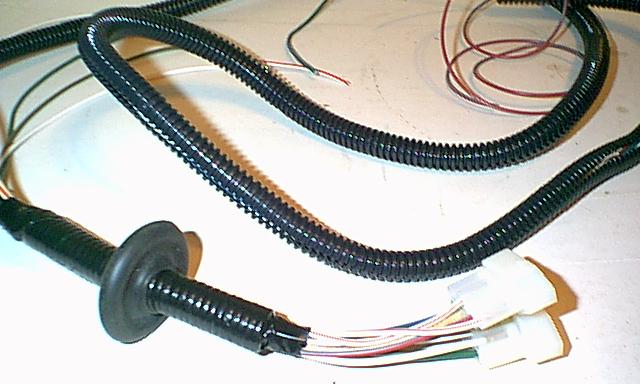 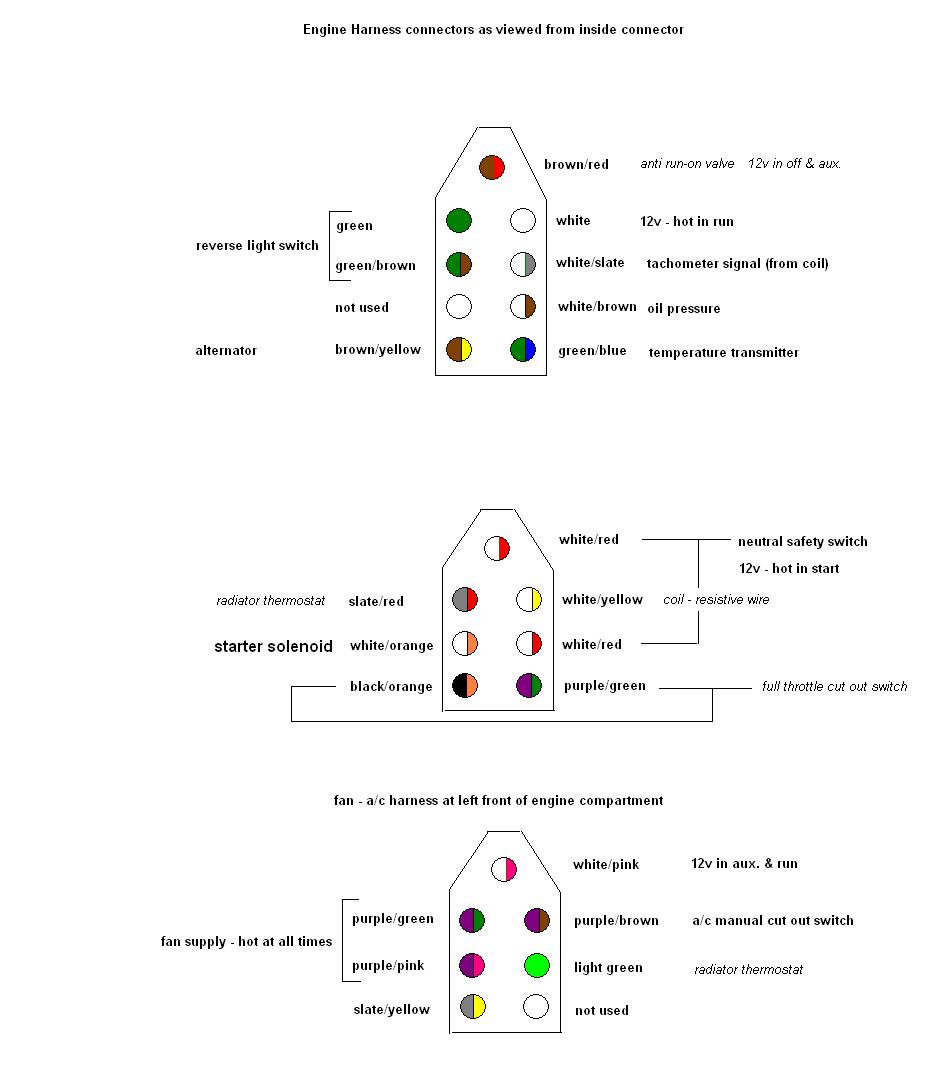 It will probably be easier to make a new engine harness from scratch. The existing TR7 harness will likely be corroded and brittle from engine heat. It will also have been compromised by the actions of previous owners repair attempts using cheap splice connectors, bare wires twisted together and electrical tape! Furthermore, many of the engine electrical units on the Rover V8 are in a different position from the TR7, so existing wires will be too short. Factory style connectors and correct wire colours are readily available to produce a professional looking harness as shown above. The illustration shows the pin layout of the three major engine harness connectors found on a typical TR7. The top two are located in the right foot well at the top of the transmission tunnel. The third is located behind the left headlamp if the car is equipped with a/c. |
| Step Three: Install the computer (ECU), fuel injection harness & misc. sensors | ||
| . | fuel injection wiring harness | The engine computer is installed under the glovebox. The fuel injection wiring harness is more or less self contained and only requires a handful of connections to the remainder of the vehicle wiring. The two most significant are: hot at all times and hot in run (12v ignition switched). There are also connections to the park/neutral switch (auto only); electric cooling fan (the ECM can switch these on based on a programmable temperature range) and a/c compressor (more on this later). The GM idle air control valve screws directly into the Rover housing, but the valve itself is different. The MAP sensor can be connected to one of the spare vacuum tappings at the base of the plenum. |
| fuel injection computer | ||
| MAP sensor | ||
| IAC valve | ||